Late April: Every Day Should Be Earth Day!
Hello, fellow gardeners! If you've been following along from the beginning, thanks for sticking with us. If you're new, welcome aboard! We hope you're finding this weekly post useful, or at least amusing.
This Week We'll cover indoor and outdoor tasks for seedling and garden prep. But we'll also circle back to another way of growing your own food we've mentioned but not yet explored: container gardening. It's never too late to start growing something in a container, and for those of us new to growing food, it's a great way to start!
First, let's take a look at...
What Should I Plant This Week?
Indoors
Indoor seeding is slowing down for now, but if some of your seeds haven't germinated, it's not too late to try again for many things.
Sometimes our seedlings start to look leggy and weak a few weeks after germination. Be sure your light fixture is veryclose to your plants, just a few inches from the bulb, to keep them from reaching for the light.
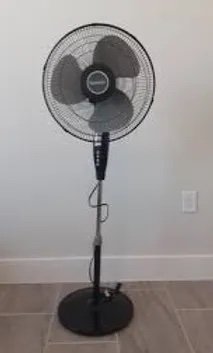
Also, you can introduce a fan to your setup. A slight breeze blowing across your seedlings for a few hours a day simulates an outdoor breeze and will strengthen the stems. You'll find your stems starting to beef up after a few weeks.
Air circulation is very important for keeping conditions at bay that cause damping-off (covered last week). An oscillation fan works well for this too. Just keep an eye on the watering because the moving air will dry out the soil quicker. Watering from below is preferable to keep the water where it's needed, down at the roots.
Here is a quick video of a small setup with one stationary fan.
If you have a few more minutes, here is a more elaborate setup.
We will want to start a few more crops indoors in a few weeks like squash, melons, and more, so stay tuned!
Outdoors
We are still planting potatoes, chard, and carrots outside and if it's been a few weeks since you started some lettuces, you can repeat every 2-3 weeks to have successive harvests throughout the summer. Harvest lettuce leaves when they are 3-4" and they will regrow a few more times for more harvests from the same plants. More about successive planting of lettuce.
Veggie Spotlight: Carrots
Carrots are a crop we have struggled with in our home garden. Germination is tricky, and in the past, if we did have success, the rabbits would mow them down overnight. But we've worked through some of our issues and wanted to share what we’ve learned.
First, be sure you have adequate fencing that will keep rabbits out. (We will cover fencing in more depth next week.) Second, use pelleted seed if possible. It will help keep the seed moist a little longer than non-pelleted seed, aiding in germination.
If you have non-pelleted seed, try this cool planting technique we found.
Keeping the soil evenly moist during the 14 days carrots need to germinate is key and was always tricky for us. Here are two techniques we use to help:
1) Water the soil well before you plant the seeds. They can easily be swept away by your water, so do this before you place the seed. Then place your seeds in a shallow trench, cover them gently with about 1/4" - 1/2" of soil, and gently pat down the soil. Next, place a layer of burlap over the bed and gently water that.
2) Next, place boards over the rows to help keep in the moisture.
We water a few times a week, taking the boards off and watering the burlap so we don't disturb the soil or seeds below. After watering, the boards go back on.
Check under the burlap after 10-14 days to see if the seeds have germinated. Remove the boards and burlap once they have germinated.
Container Gardening Crash Course
Two points we want to make clear about gardening:
1. It’s never too late to start.
2. Any size garden is worth planting.
In that spirit, let’s take a closer look at starting a container garden. If you’ve never grown veggies before, it’s a manageable way to begin. For experts, it’s a great way to diversify how and where you grow crops, and for those in urban areas (we haven’t forgotten about you!) it can be the only way to garden.
You can buy pots and container systems, but you probably have several containers around the house that would be fine. Be creative! You can use almost anything, so long as they fit these criteria:
Use only as big of a container as you need. Some plants have deep root systems, others very shallow. You can grow greens in shallow trays (which lets you move them between indoors and outdoors to avoid harsh heat or storms). To grow potatoes, you’ll need more depth to let tubers develop. But planting chard in a 2-foot deep pot is just a waste of soil and water.
Make sure the material is food safe. Avoid treated wood and anything that can leach toxic chemicals like lead from glass or paint or resins from some plastics.
Consider durability. Wood can be great but can degrade and rot with moisture. UV radiation from sunlight breaks down some plastics and fiberglass more than others.
Color can matter. Darker containers absorb more heat and retain it for a while if they’re large and heavy. For sweet potatoes, eggplant, and tomatoes, this is great because they love the heat! But for leafy greens, not so much.
Containers must have adequate drainage. Hard-sided containers should have drainage holes. Fabric containers should be porous enough to not let water pool.
About soil…
Always use light, well-draining, nutrient-rich potting soil, NOT just soil from your yard. Why? because by planting in a container, you’re creating an isolated soil ecosystem where water and nutrients can’t diffuse in or out from the surrounding land. So, we need to make sure water can get out and there are enough nutrients in place from the start.
Good organic potting soil has slow-release nutrients that your veggies will be fed with for the entire season. Fertilizing might still be necessary, but using rich potting soil puts you on the right path from the beginning.
You can buy potting soil or make it yourself with compost for nutrients, coco coir (a peat moss alternative) for bulk, and vermiculite/perlite/sand for lightness and drainage. Here is a great video on the basic process. For a deeper dive, check out Penn State’s extensive factsheet. Remember: keep it rich and light!
What grows well in a container?
Lots of things! As always, grow what you love to eat. Dreaming of ripe, homegrown tomatoes? Plant tomatoes! Want fresh herbs right on your kitchen counter? Go for it!
We are huge advocates of growing your own greens. Lettuces, micro-greens, chard, oh my! These are undoubtedly the biggest bang for your buck when it comes to growing your own food, and they do great in containers. They’re easy to care for and grow quickly (lettuce in 3-5 weeks and micro-greens in 1-2 weeks).
Plants that do well:
Herbs!
Basil, cilantro, parsley, rosemary, oregano, thyme...(move inside to enjoy year-round)
Things you can plant and replant, like...
Radishes (seed-to-snack in 45 days)
Beets (eat the greens and the root)
Things that can grow up, saving space, like...
Pole beans
Peas
Cucumbers
Some more root veggies (with a deep container), like...
Potatoes
Sweet potatoes
Carrots
Other favorites, like…
Tomatoes
Peppers
Eggplant
Broccoli and Brussel sprouts
Summer squash and zucchini
Whether it’s indoors or outdoors, remember to put your container veggies where they can get full sun for at least 8 hours a day.
Here are some more ideas to get you thinking about container gardening.
To Recap Today's Essential Concepts:
Air circulation is key to keeping your seedling strong and happy.
When planting your carrot seeds, keeping them moist is key.
Container gardening can be very productive.
Coming Up:
Next week is when we begin the process of preparing indoor seedlings to move outside. Outdoors, we'll talk a bit about irrigation and other preparations for the big move.
Until next time, stay dirty, friends!
Garden Extras!
To Garden Is to Be Resilient: this short article about building a lifestyle of resilience for times of crisis and times of plenty is well worth the read.
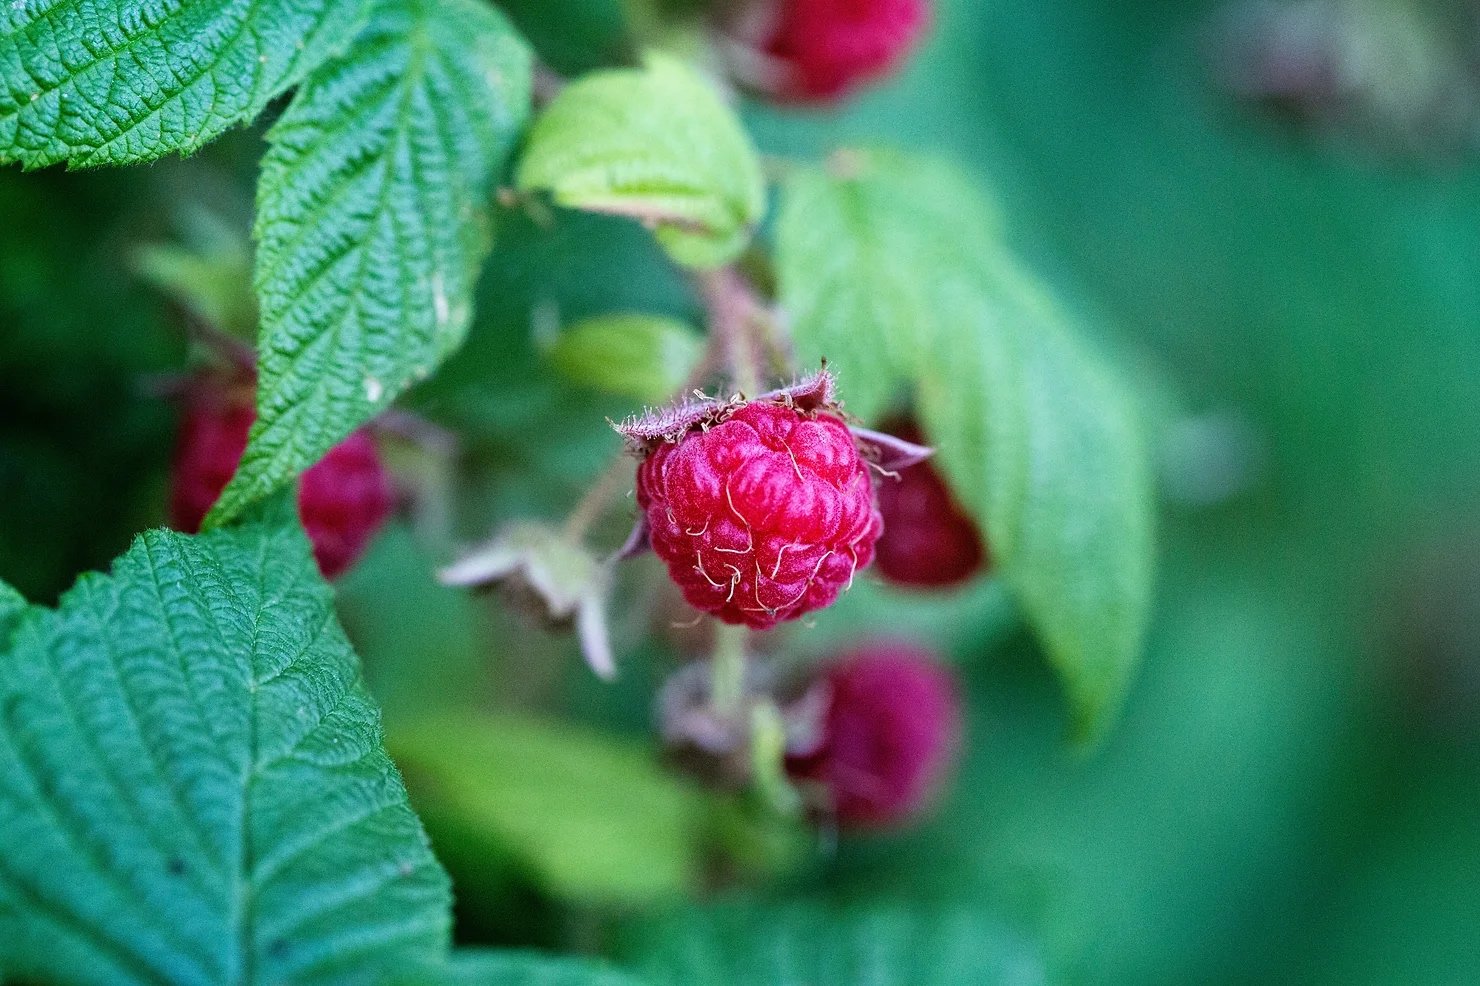
Pruning Raspberries: Do you have raspberries, but no idea how they should be pruned to get a great crop? Check here!


